Working with nodes
STANDARD PREMIUM ULTIMATE
Every flow consists of multiple nodes which are connected to build an application. Each node fulfills a specific task and has its configuration options.
Types of nodes
Nodes are defined by their input on the left side and their output on the right side of the node. There are three different options for each in- and output of a node. Either there is no input or output, or there is a port, marked as a gray circle, where other nodes can be connected at. Some nodes have an attached button, which allows manual control of different options. The figure below shows three examples for different node types. The timestamp node has a button instead of an input node to manually trigger a flow with a passed on timestamp. The switch node has an input and output port, and the comment node doesn't have any input or output options.

Different node types
Preinstalled nodes
Node-RED provides a range of useful preinstalled nodes to get your project started with a lot of options. A simple flow will have an input, output, and some function nodes. Input and output nodes form the shell of a series of nodes because they are designed to trigger this string of nodes and output a result at the end. Function nodes are used to change compare, or create values. You can use a combination of nodes that serve one specific purpose and combine them, or you write your JavaScript function.
You can get a summary of every node's function if you hover over them.
Useful nodes
Inject: manually trigger a flow by sending a message object
HTTP: connect to other applications and API endpoints by sending and receiving HTTP requests or host a webpage through the Flow App
debug: check outgoing messages from nodes while building your flow
function: write your JavaScript functions
template: create data in a specific file format e.g. HTML or JSON data
comment: add a comment and more detailed information to describe your flows
switch: route messages based on their property values or sequence position
change: set, change, or delete properties of a message, flow context, or global context
Node options
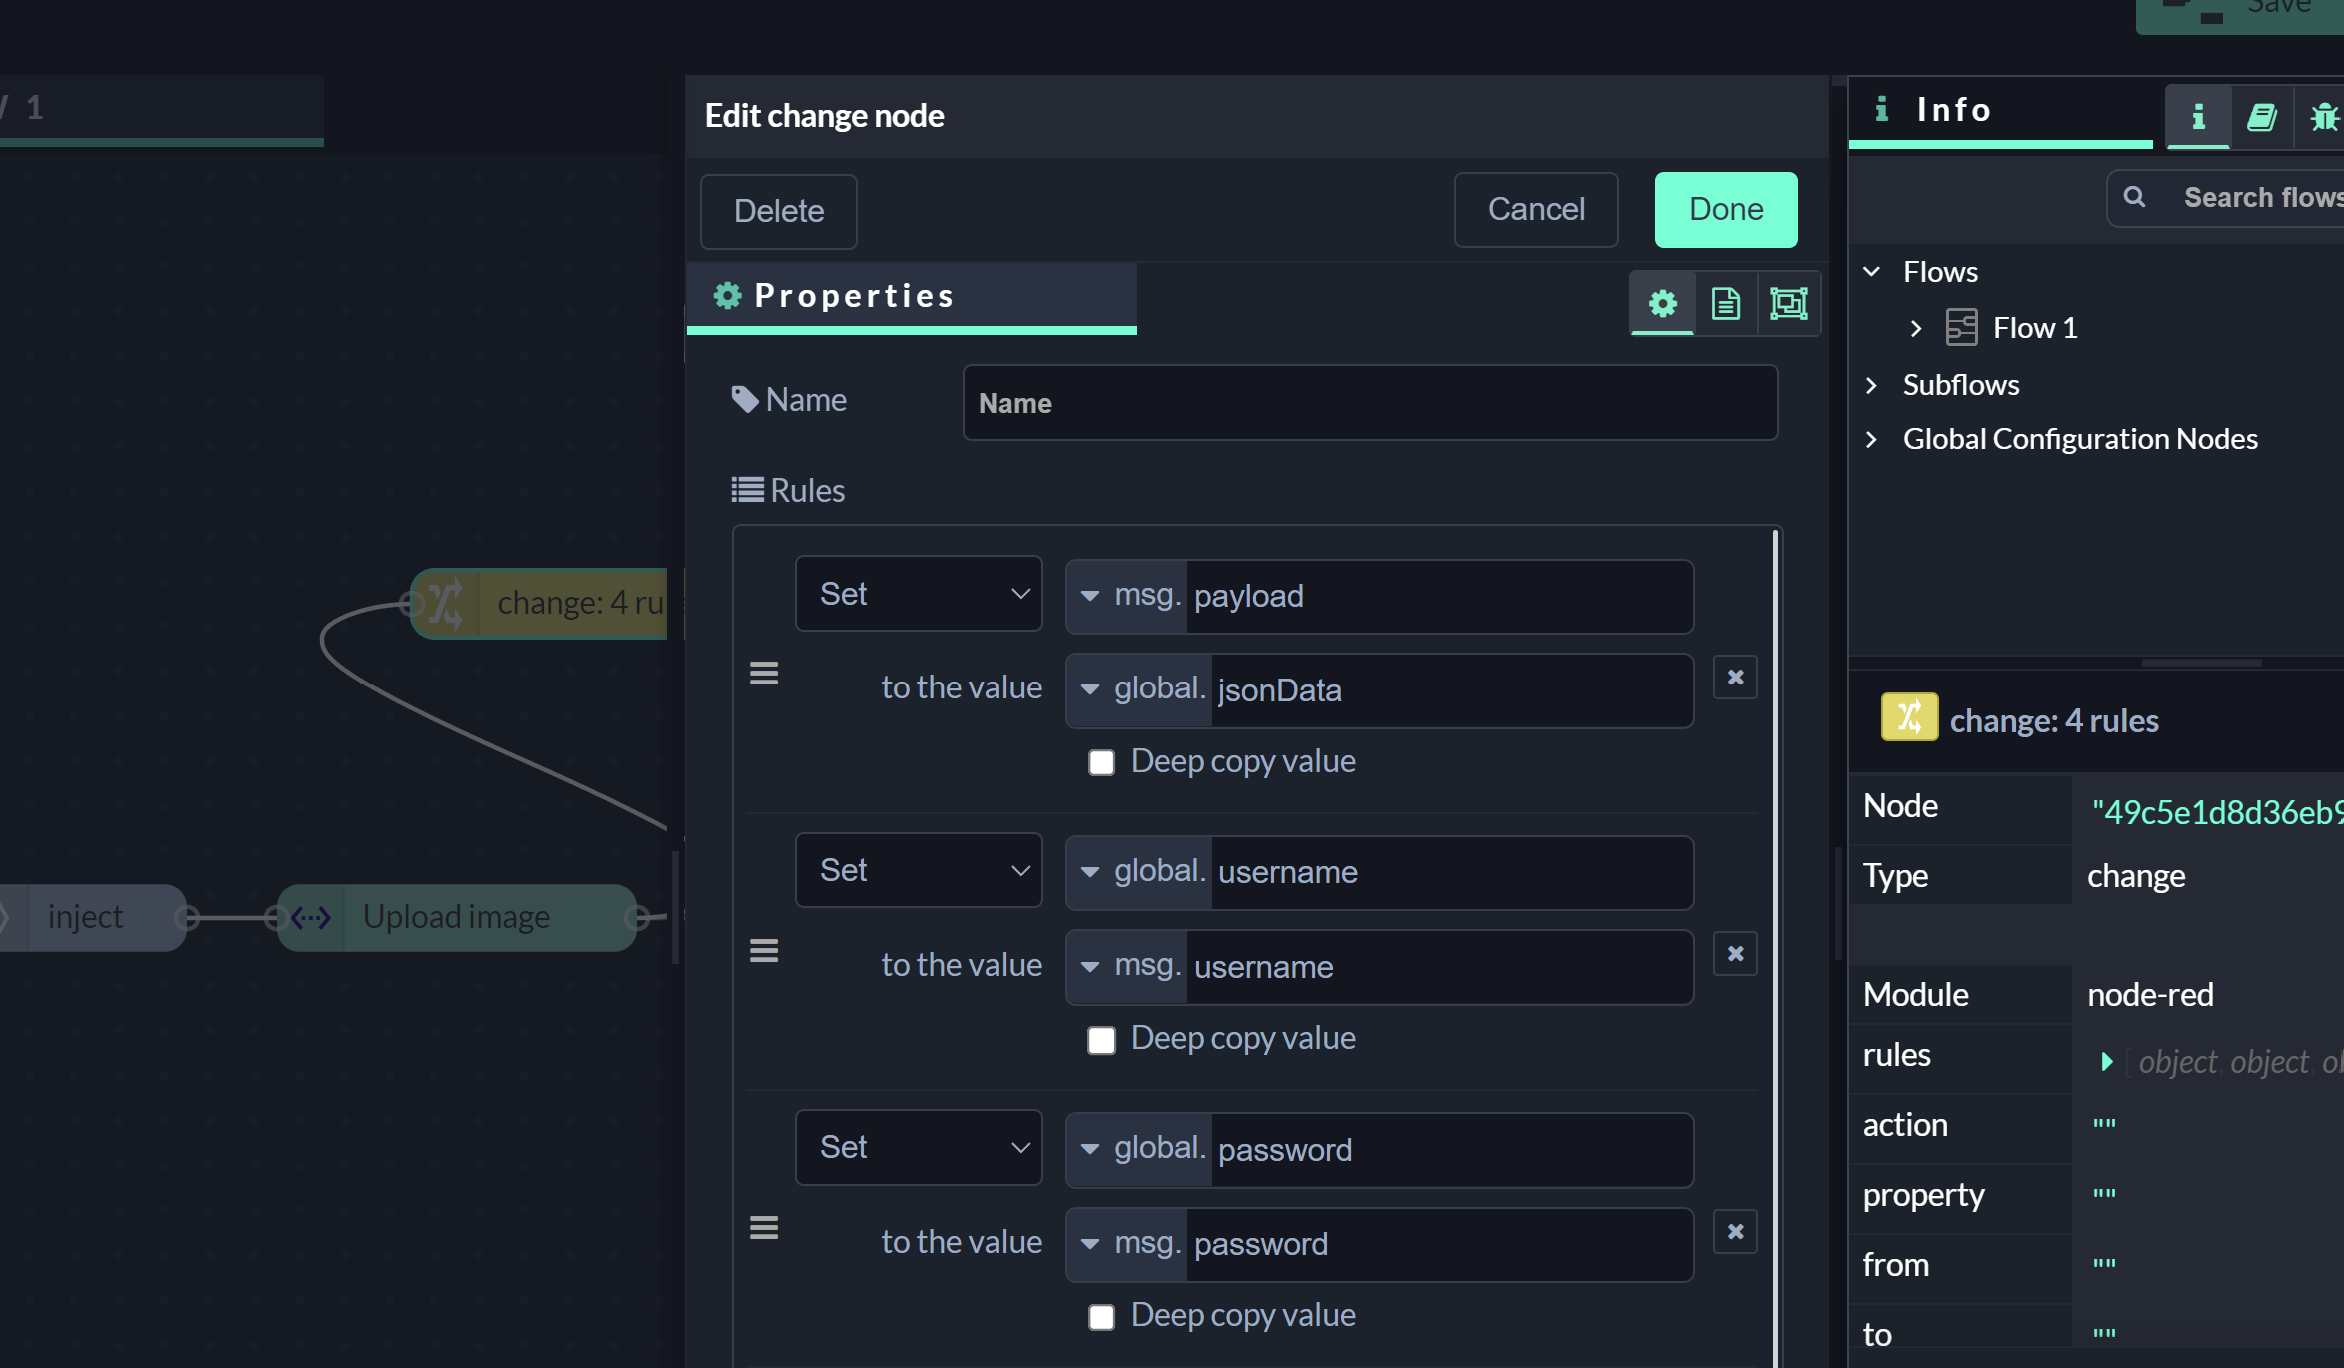
Each node can be edited by double-clicking it. A menu will pop up with properties, description, and appearance tab.

Menu for editing nodes
Properties
The properties tab provides options to change the setup of each node. It will provide different options for each type of node. Every node should give you the option to declare a custom name that will be displayed inside of the node. If you leave this setting empty, the name will be the default name specified for this type of node. Other properties will be different methods to use, filed where variable checks or declarations can be set, or a text-block to write code.
Description
The description tag provides a text block to add more elaborate descriptions for the use case of the node. There are some options to style the text. The description will appear in the sidebar in the node information tab if the node is selected.
Appearance
Each node’s appearance can be changed with the options in the Appearance tab. The label or name of the node can be disabled. The icon of the node can be changed. Clicking the icon opens a window to choose a new icon. Node-RED provides a list of icons including a Font Awesome icon pack. Lastly, you can add port labels to be displayed if you hover over a port of a node to provide node context.
Connecting nodes
Each node that sends or receives messages from other nodes has one or more ports. The ports are the connection points to chain multiple nodes together. You can connect two ports by hovering over one of the ports. When the port is highlighted you can click and drag the cursor over to the node you want to connect to. The ports you can connect to are highlighted. You can only connect an output node to an input node and vice versa. Once two nodes are connected, a message can be passed on from one output of a node to an input of a different node. Information between nodes can only be passed on in one direction.
