Adobe Photoshop
Introduction
Adobe Photoshop API allows users to integrate the functionality of Adobe Photoshop into their own applications or workflows. Adobe Photoshop API provides access to a wide range of image editing and manipulation features, such as layer management, filters, transformations, and text editing, enabling them to build applications that leverage Photoshop's capabilities.
With Adobe Photoshop API you can process images, remove backgrounds, adjust lighting and more, automatically and programmatically. It is also possible to create mockups of products using smart object replacement, and crop products automatically from larger images.
Adobe Photoshop API also supports the integration of third-party tools, libraries, and services, making it possible to extend Photoshop's capabilities further and streamline integration with other creative tools or services.
You can find more details and the supported operations on Adobe Photoshop | qibb Catalog.
How to get started with Adobe Photoshop API integration
Before you get started with the Adobe Photoshop API integration, please make sure that you have the needed permissions for those operations.
You need a Client ID and a Client Secret for authentication.
To get your Client ID and Client Secret you should log in to your Adobe Developer Console.
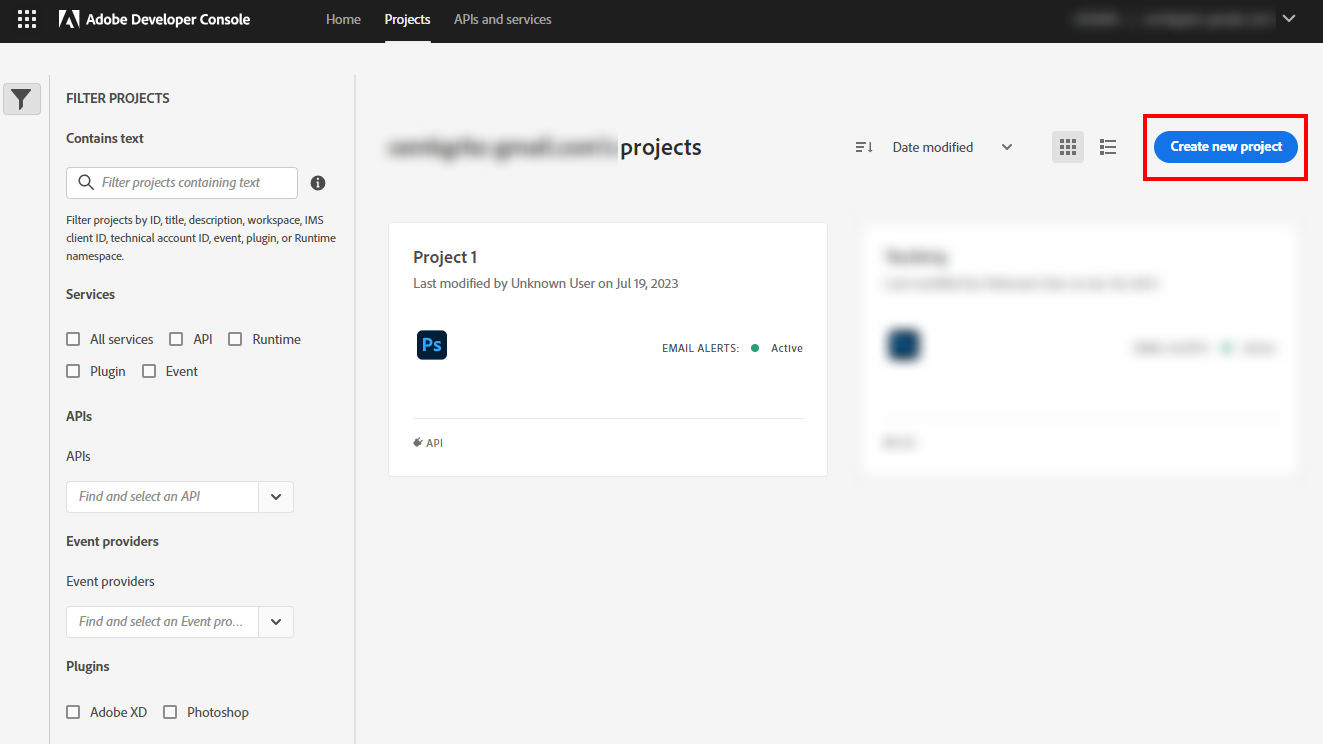
Create a new project by clicking on the Create new project button. If you already have a project, you can use an existing one.
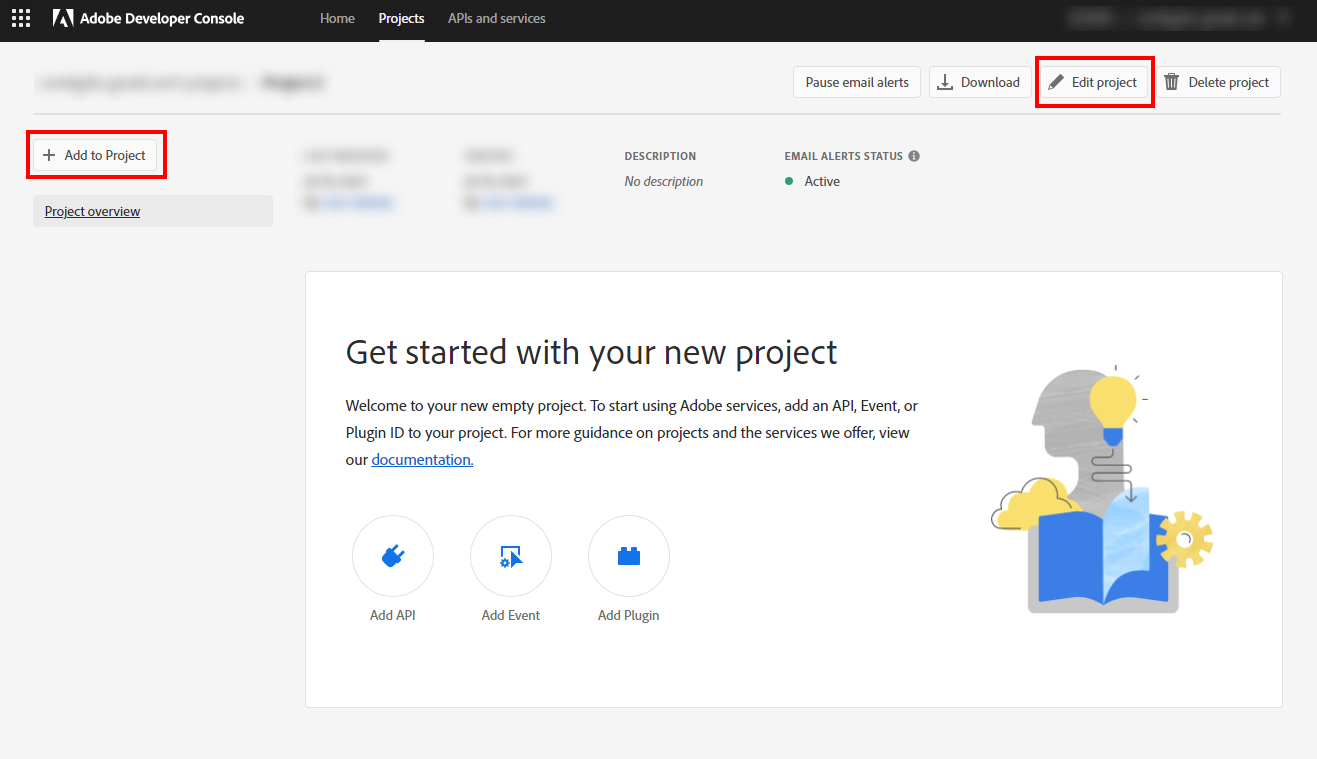
When you click on the button a new project will be created. You have to add Adobe Photoshop API to your project by clicking on the Add to Project button. You can also edit the name of the project by clicking the Edit project button on the right side.
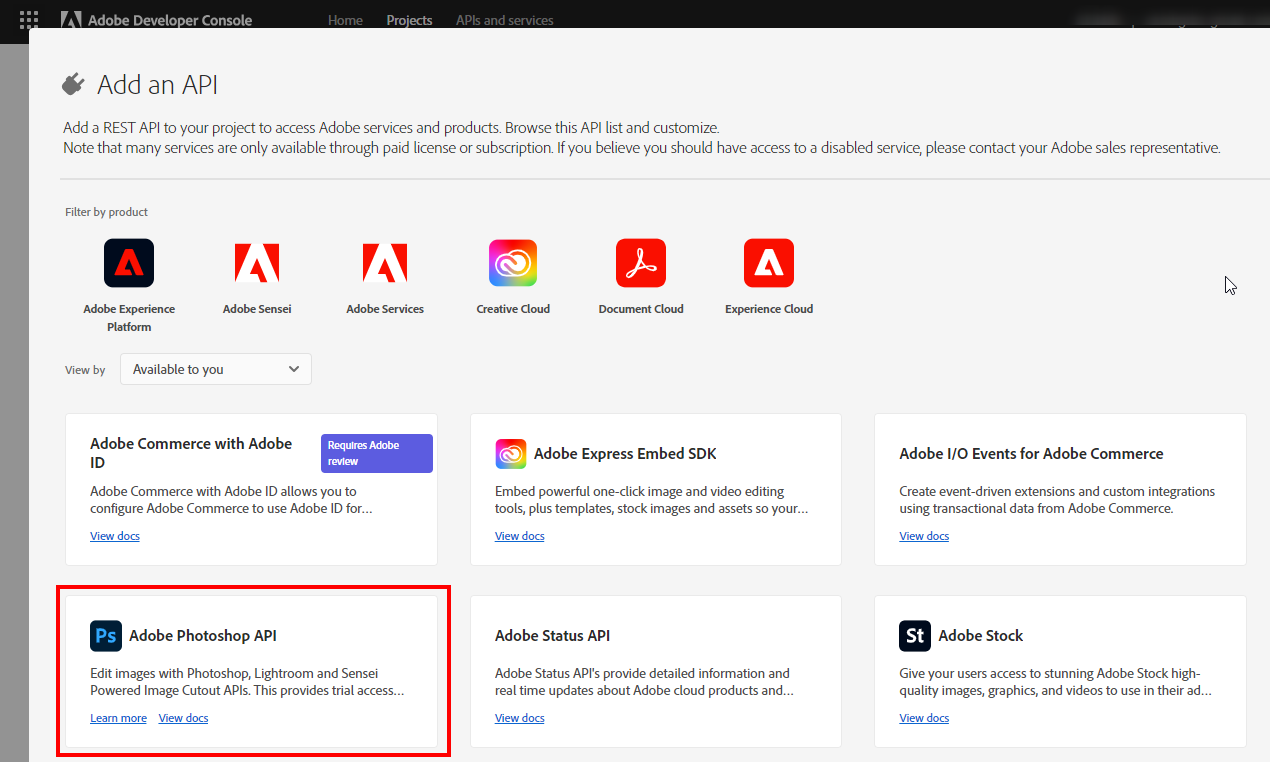
Click on the Add to Project button and select Adobe Photoshop API.
After clicking the Adobe Photoshop API button, the API will be added to your project and you will see your Client ID in the page.
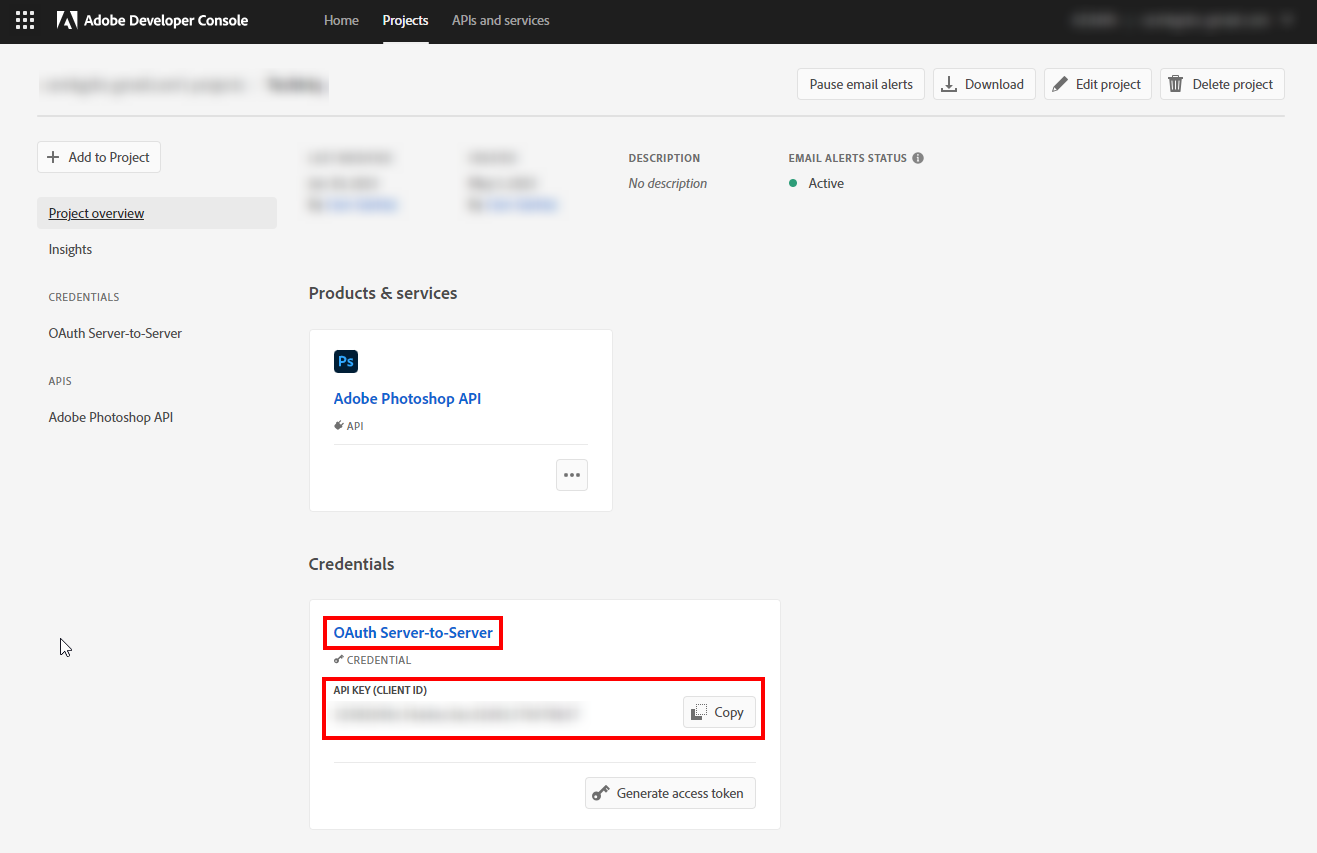
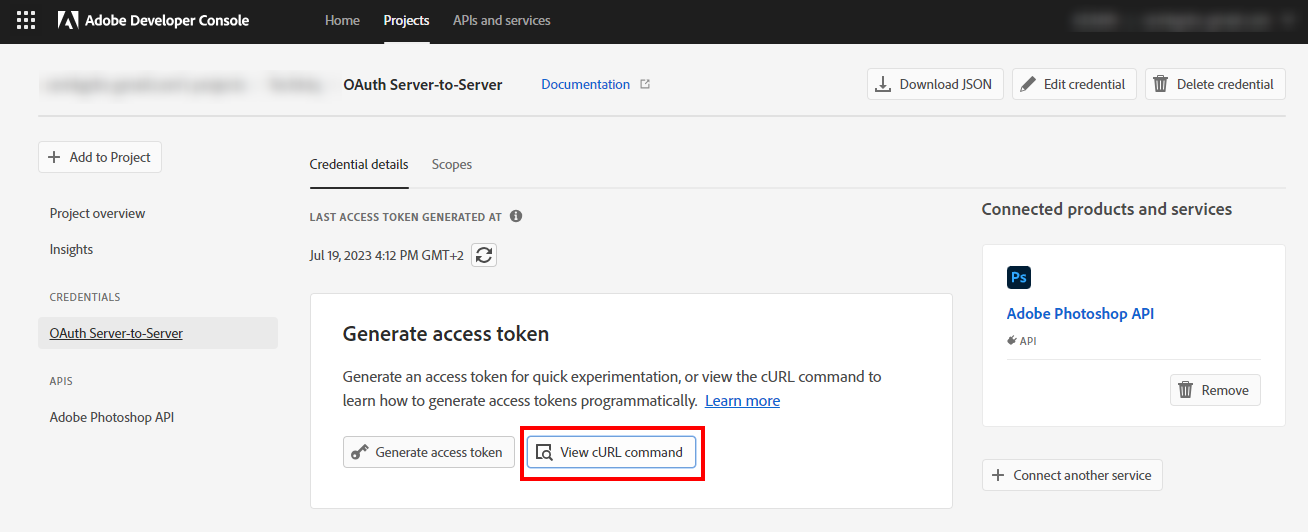
To reach the Client Secret, click on Oauth Server-to-Server. On the next page click on the View cURL command button.
You will see your Client ID and Client Secret in the cURL command.
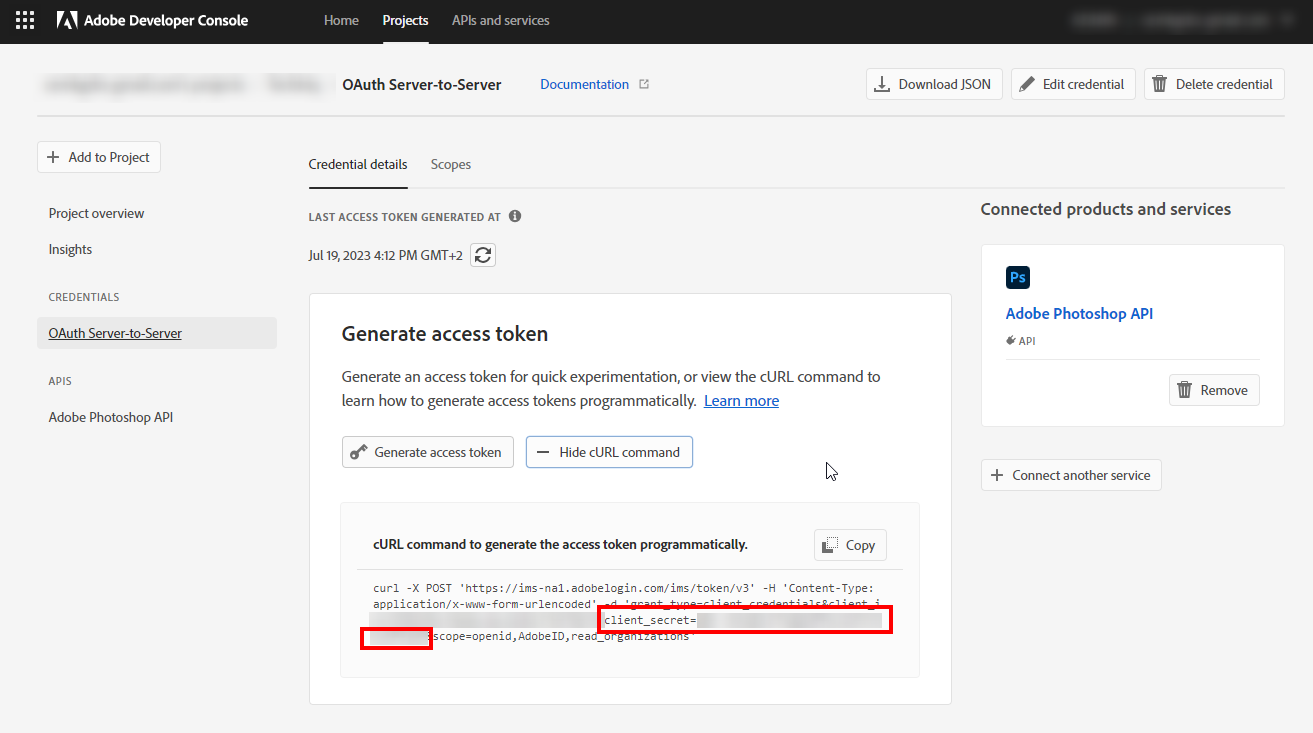
Copy and store the Client ID and Client Secret to use later on to authenticate your flow.
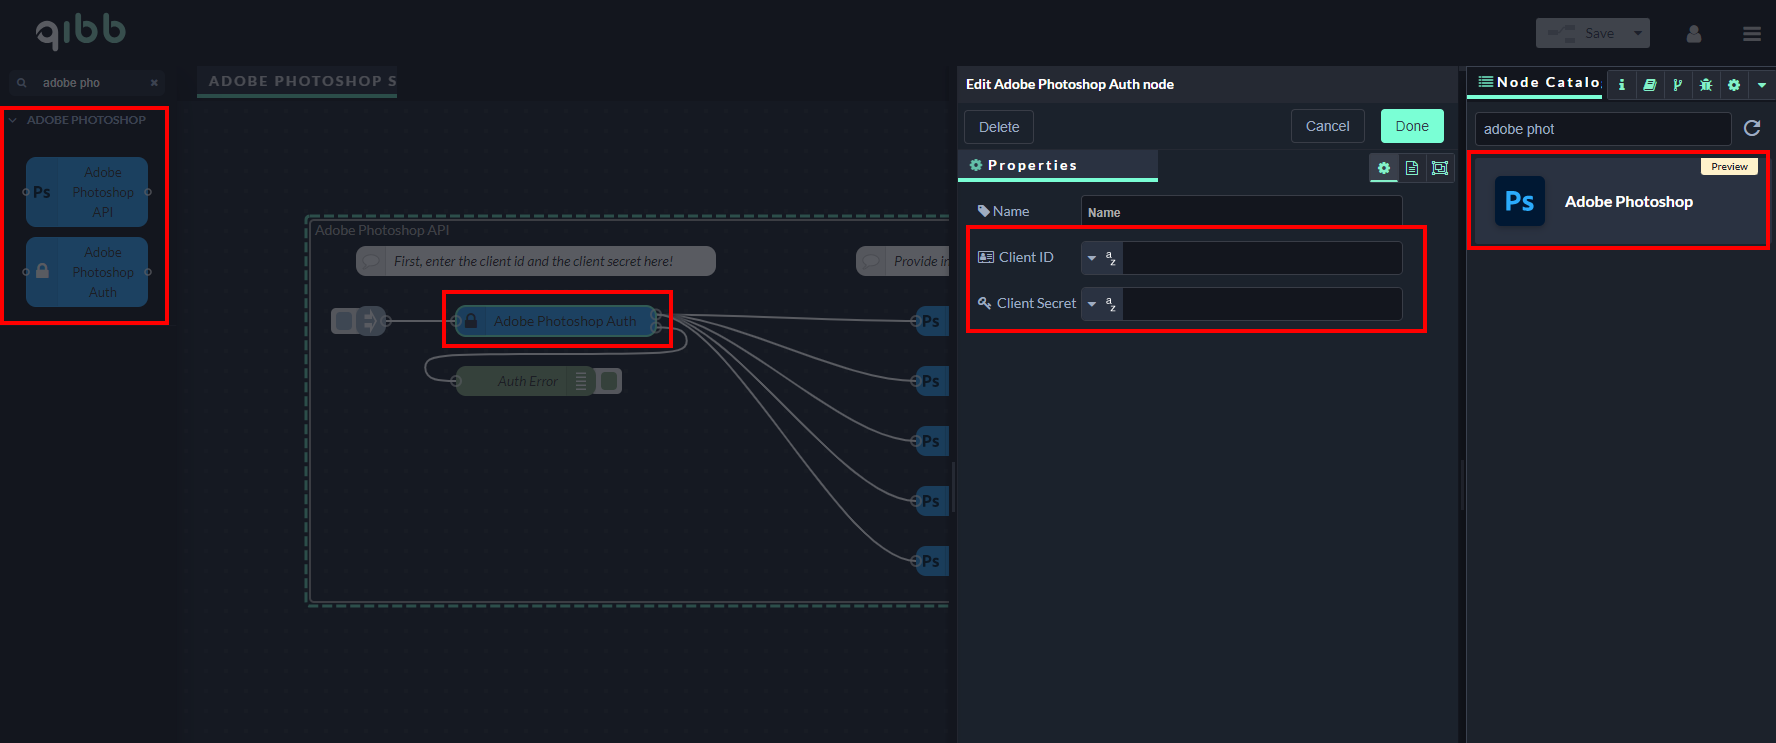
Go to the qibb Workflow Editor, open the Node Catalog in the right sidebar, and install the Adobe Photoshop node by clicking on the + button.
Drag the Adobe Photoshop Auth and Adobe Photoshop nodes and any other nodes you require from the left sidebar to your flow and connect them.
Open the Adobe Photoshop Auth node, enter your Client ID and Client Secret, select an operation in Adobe Photoshop node and you can start using the integration!
Importing flow examples of a node
Once you've successfully installed a node from the qibb catalog, you can easily import example flows that showcase how the nodes can be used. These example flows are directly accessible within the Flow Editor and are designed to guide users with helpful hints, including how to configure mandatory parameters and credentials.
Here's how to import examples:
In the top right corner of the Flow Editor, click on the menu icon.
Select Import to open the Import Dialog.
Click on the Examples tab.
Choose an example from the list.
Confirm your selection by clicking on the Import button.
By following these steps, you are now ready to make basic API calls using the provided examples. For further exploration of what’s possible, you can find more complex examples in the Flow Catalog.