Slack
Introduction
Slack is a messaging program designed specifically for the office but has also been adopted for personal use. You can find more details and the supported operations on Slack | qibb Catalog.
How to get started with Slack integration
Before you get started using Slack integration please make sure that you have permission to manage applications in your workspace because you will need to create certain settings.
Visit Your Slack Apps page and select the Bot User you would like to use with qibb or set a new Bot by clicking on Create New App button. Navigate to Oauth & Permissions and Copy it. Bot token strings begin with
xoxb-********.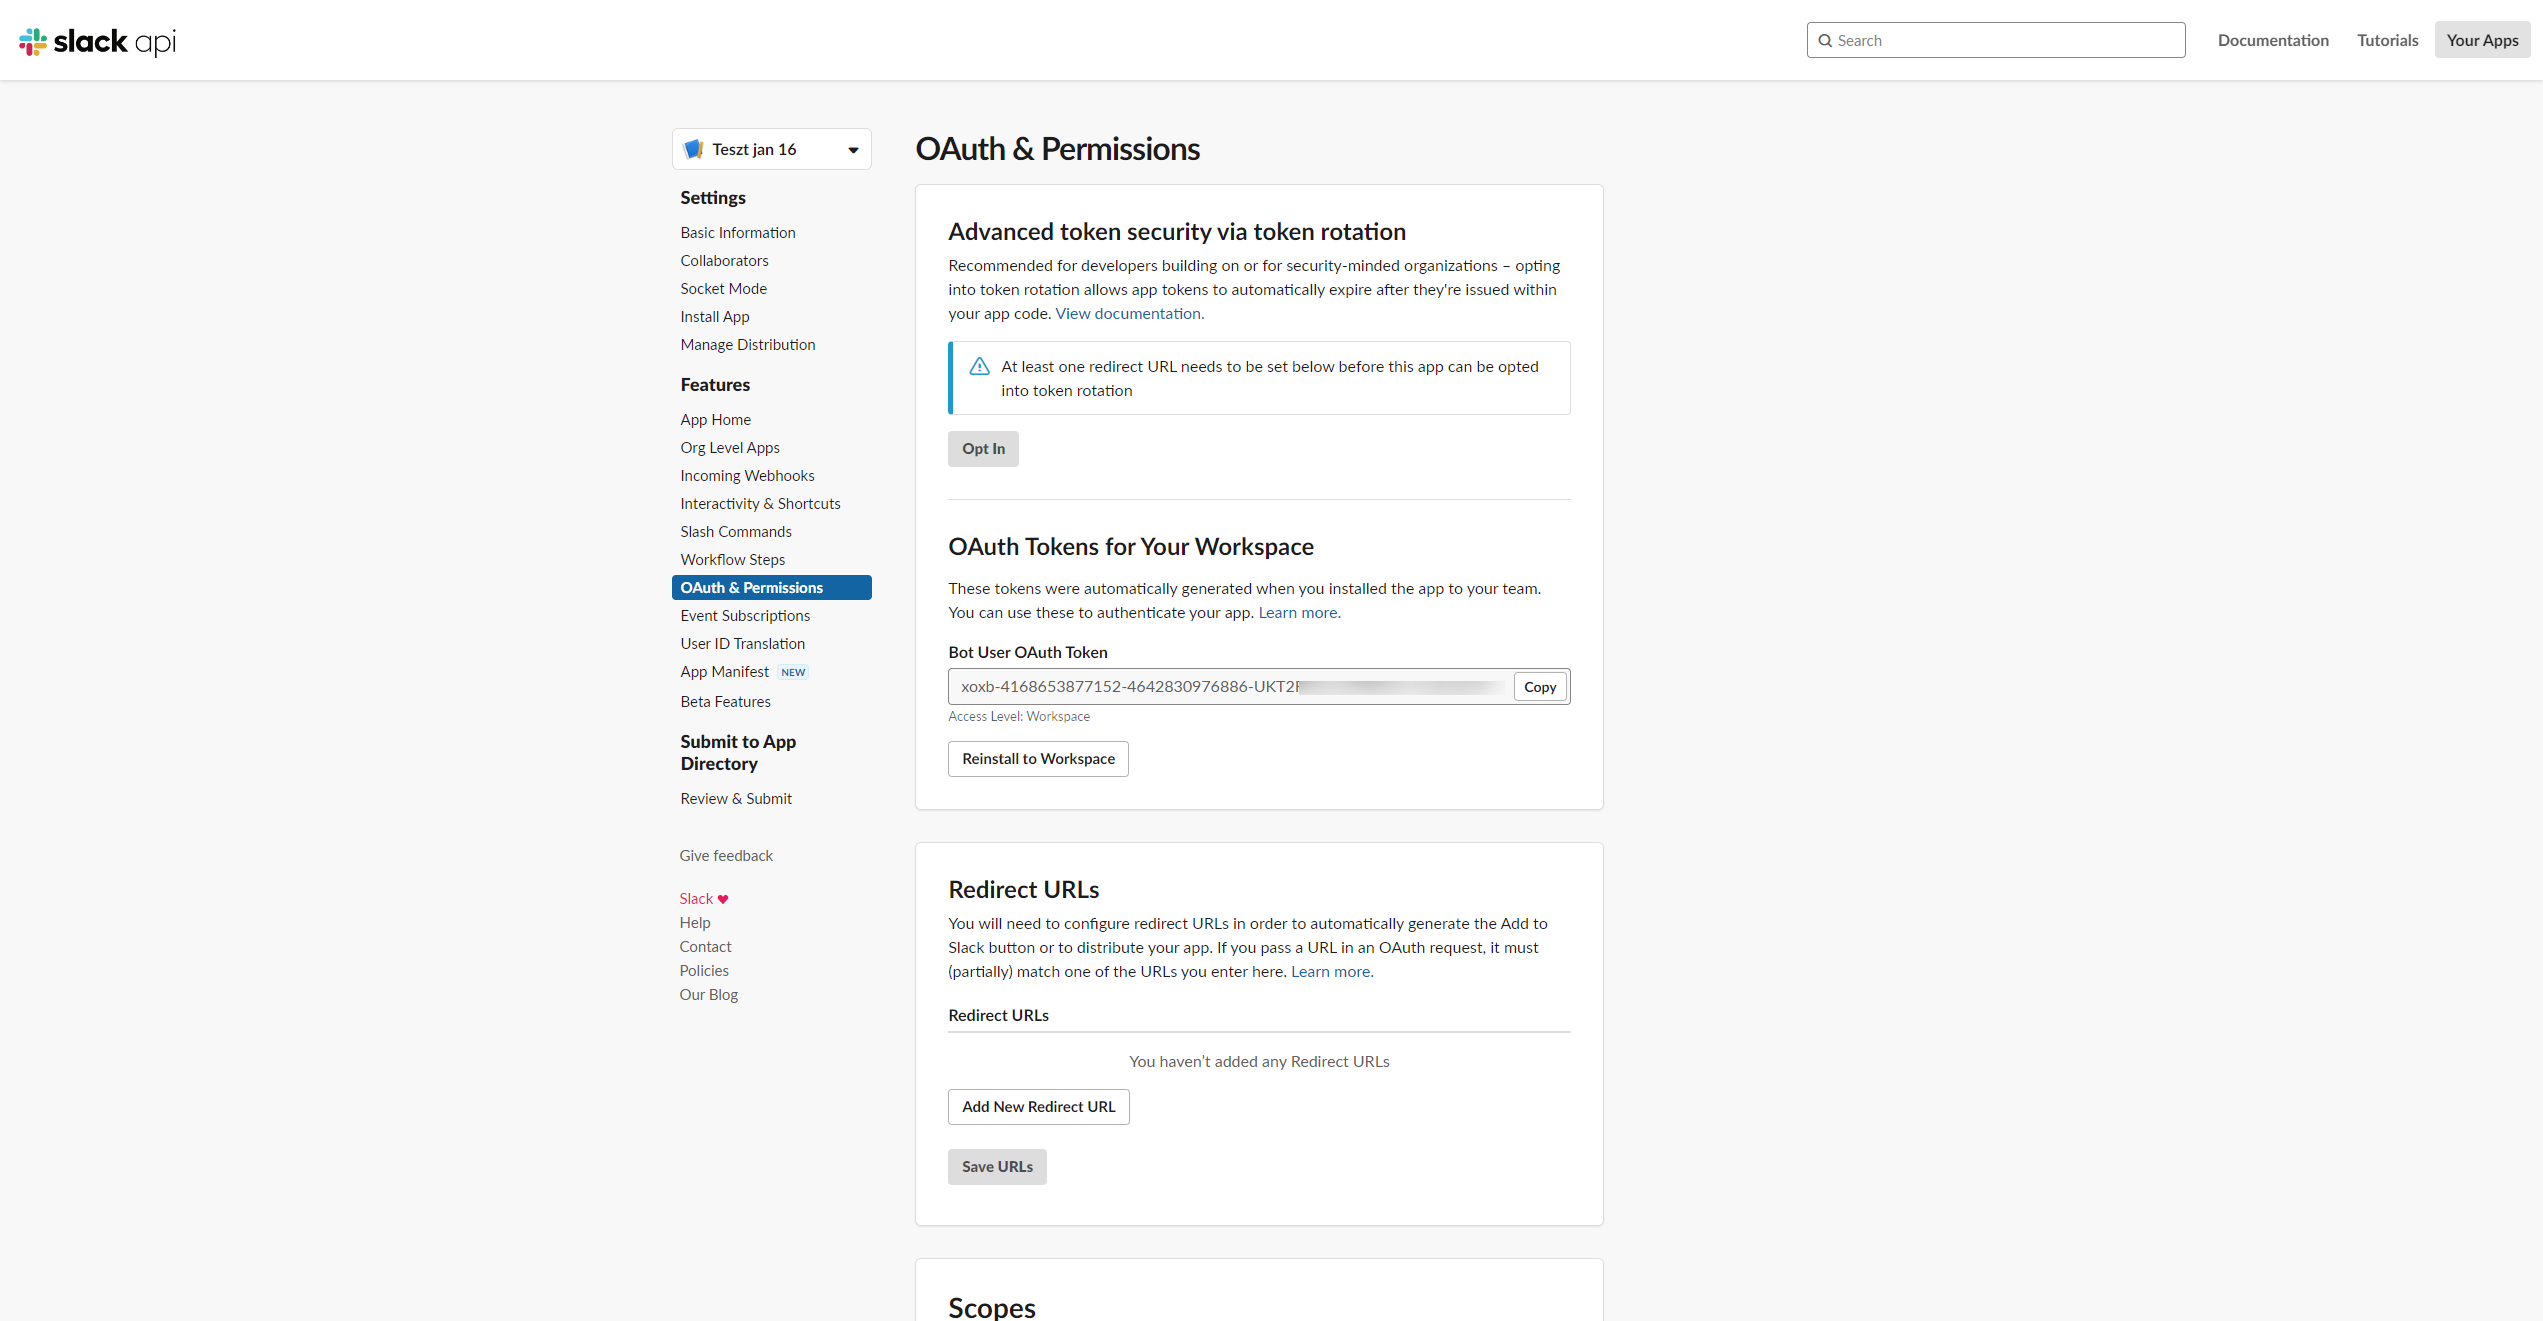
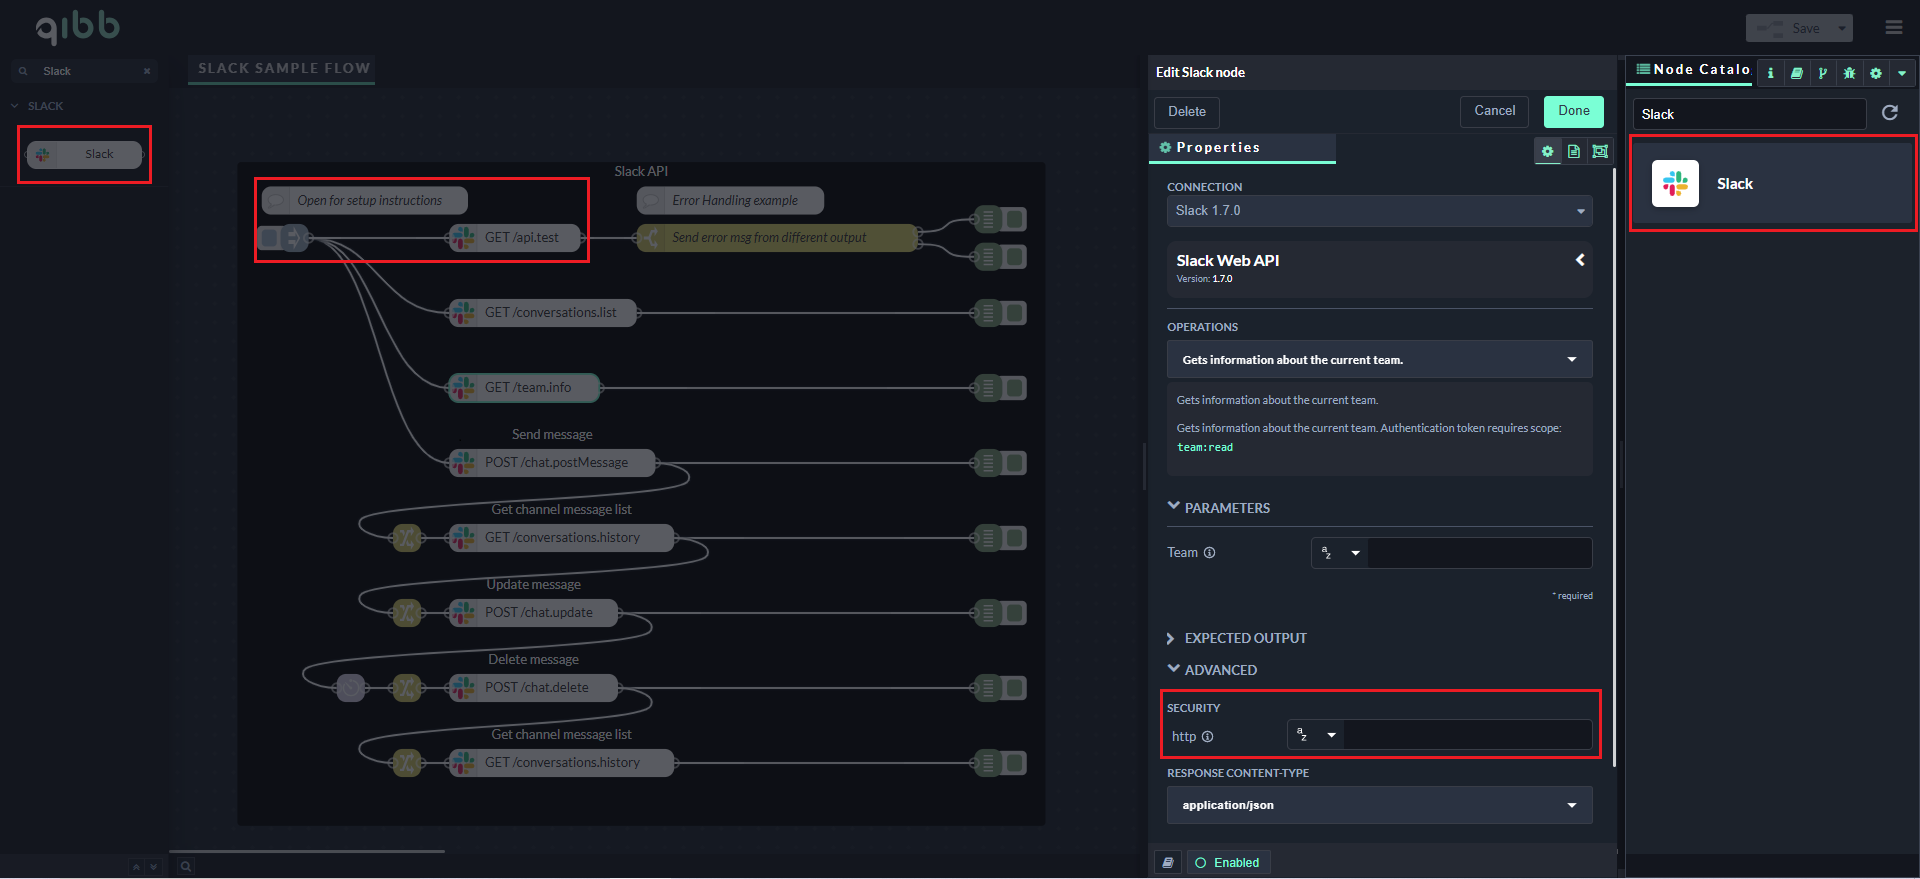
Go to qibb Workflow Editor, open Node Catalog in the right sidebar, and install Slack icon by clicking on the + button.
Drag the Slack Auth node and Slack node from the left sidebar to your flow and connect them.
Enter your Bot User OAuth Token in the security section of the Slack node. Alternatively, you can configure global secrets and access the credentials using qibb’s Secrets Manager. See the Slack example flow and its setup instructions for more information. Select an operation of one of the API call nodes and you can start using the integration!
Please note that it is currently not possible to use Error Handling functionality by default, as the Slack API server always sends 200 status code responses. The server sends error messages in payload. E.g.
{"ok": "false", "error": "Error Message"}If you want to use Error Handling, you need to add an additional node (such as a switch node or function node) after the Slack node to be able to receive errors from a separate output.
Using the node to interact with Slack channels
If you want to use the Slack node to post messages to a channel, you need to invite your previously created Slack App into the channel first. This just needs a few steps:
In Slack, choose the channel where you want to invite the app.
In the message field, type "@" followed by the name of the bot you created (e.g., "bnz"). You'll see a notification that the bot is not in the channel.
Send the message to the channel.
You'll receive a pop-up dialog to guide you in inviting the bot user to the channel.
That’s it! Now your node should be able to read or write to that channel.
Importing flow examples of a node
Once you've successfully installed a node from the qibb catalog, you can easily import example flows that showcase how the nodes can be used. These example flows are directly accessible within the Flow Editor and are designed to guide users with helpful hints, including how to configure mandatory parameters and credentials.
Here's how to import examples:
In the top right corner of the Flow Editor, click on the menu icon.
Select Import to open the Import Dialog.
Click on the Examples tab.
Choose an example from the list.
Confirm your selection by clicking on the Import button.
By following these steps, you are now ready to make basic API calls using the provided examples. For further exploration of what’s possible, you can find more complex examples in the Flow Catalog.