Jira
Introduction
Jira helps teams to plan, assign, track, report and manage work. Jira brings teams together for everything from agile software development and customer support to start-ups and enterprises. With Jira, teams can create and manage their backlog of tasks, assign tasks to team members, set priorities, and track progress in real-time.
Jira offers a wide range of features, including customizable workflows, agile boards, time tracking, and reporting. It also integrates with other Atlassian tools like Confluence and Bitbucket, as well as third-party tools like Slack and GitHub. Jira also offers a Virtual Channel service, which allows teams to collaborate and communicate in real-time within Jira.
You can find more details and the supported operation on Jira | qibb Catalog.
How to get started with Jira integration
Before you get started using Jira integration please make sure that you have the needed permission for the operations.
You would only need your Username and API token for authentication.
Create an API token from your Atlassian account:
Log in to Atlassian API Tokens.
Click Create API token.
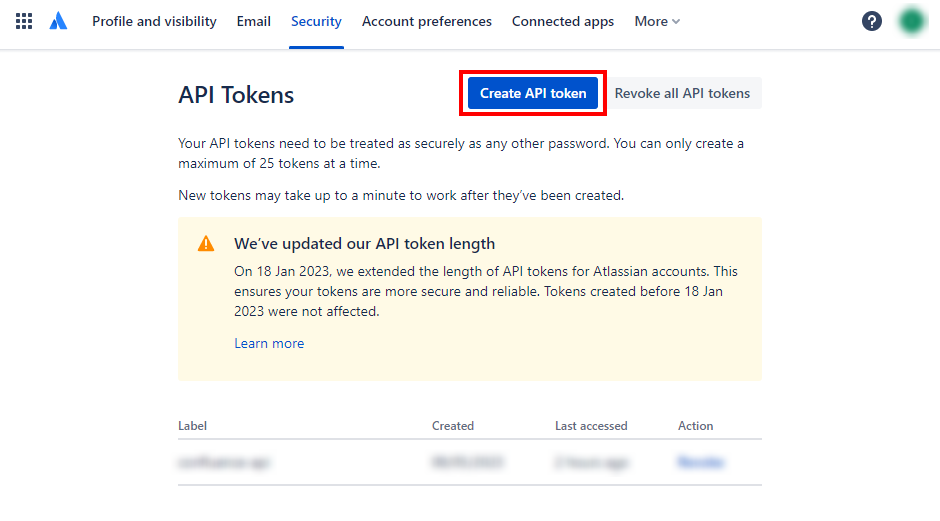
From the dialog that appears, enter a memorable and concise Label for your token and click Create.
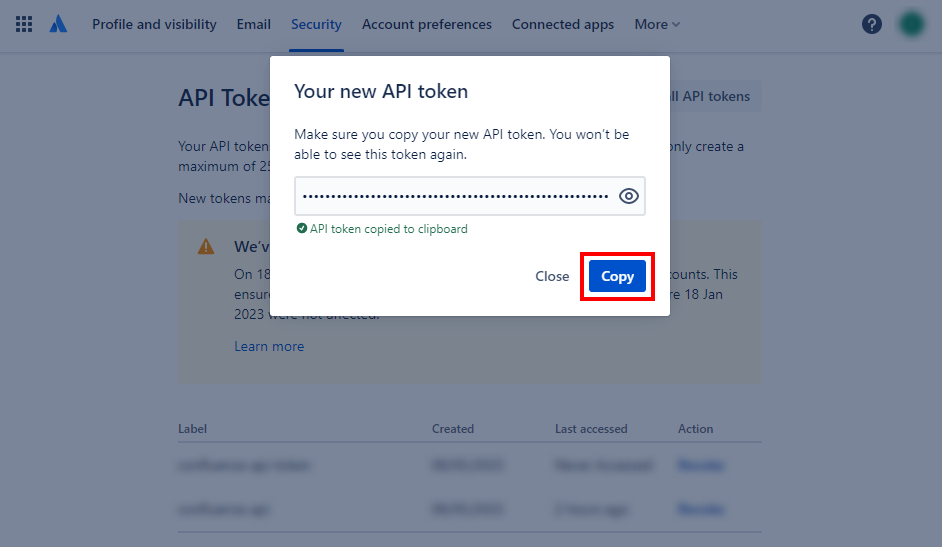
Click Copy to clipboard, then paste the token to your script, or elsewhere to save.
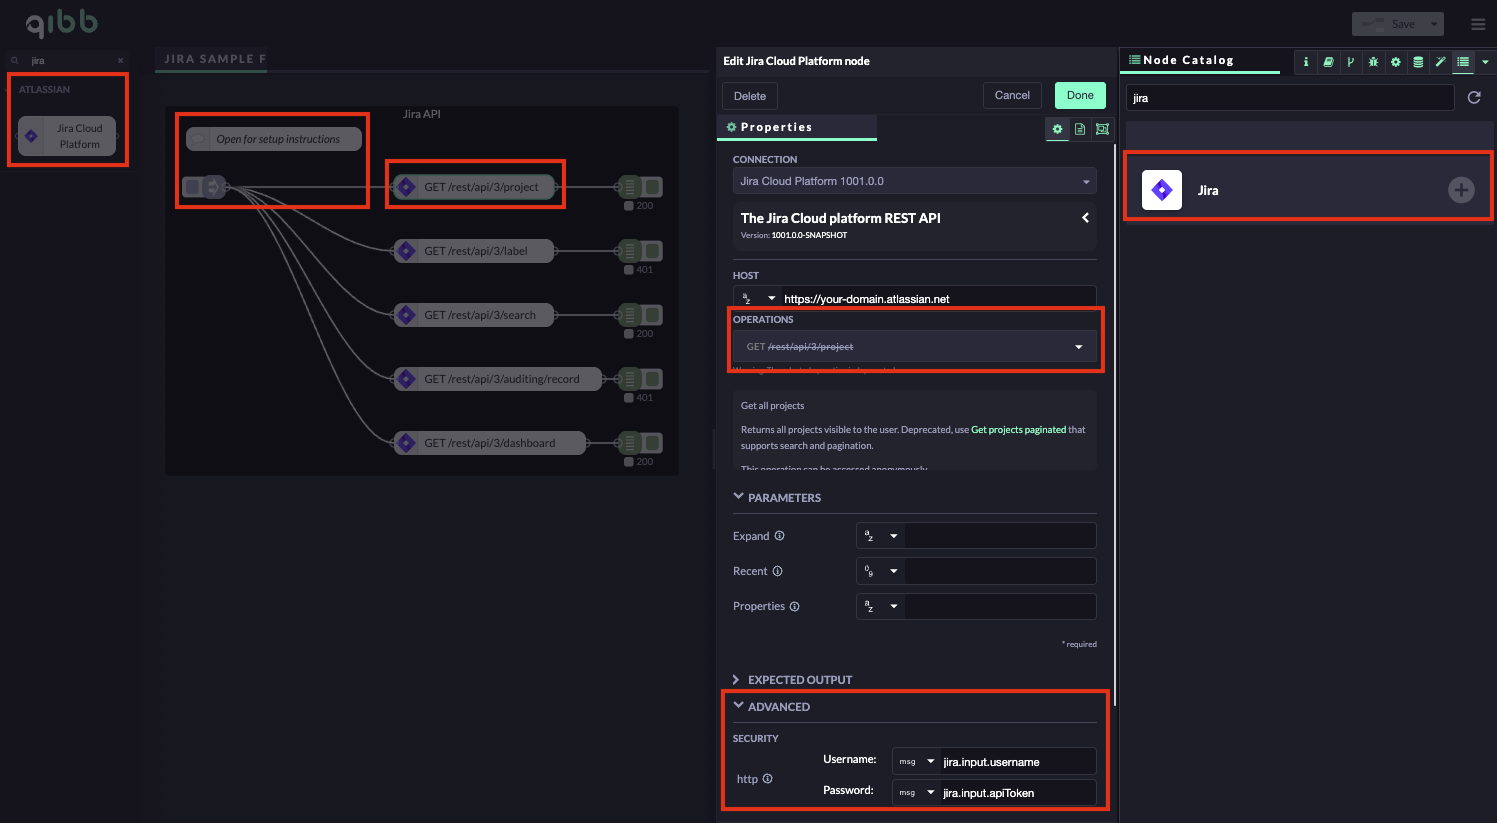
Go to qibb Workflow Editor, open Node Catalog in the right sidebar, and install Jira node by clicking on the + button.
Drag and drop the Jira Auth node and Jira Cloud Platform node from the left sidebar to your flow and connect them.
Enter your Jira Username and Jira API token into the security section, then your Base URL into the Host field of the Jira node. Alternatively, you can configure global secrets and access the credentials using qibb’s Secrets Manager. See the Jira example flow and its setup instructions for more information. Select an operation of one of the API call nodes and you can start using the integration!
Importing flow examples of a node
Once you've successfully installed a node from the qibb catalog, you can easily import example flows that showcase how the nodes can be used. These example flows are directly accessible within the Flow Editor and are designed to guide users with helpful hints, including how to configure mandatory parameters and credentials.
Here's how to import examples:
In the top right corner of the Flow Editor, click on the menu icon.
Select Import to open the Import Dialog.
Click on the Examples tab.
Choose an example from the list.
Confirm your selection by clicking on the Import button.
By following these steps, you are now ready to make basic API calls using the provided examples. For further exploration of what’s possible, you can find more complex examples in the Flow Catalog.