Structuring your flow
When working on a flow, the nodes should be arranged in a specific structure to help with the readability of what is going on inside the flow.
Flow Structure
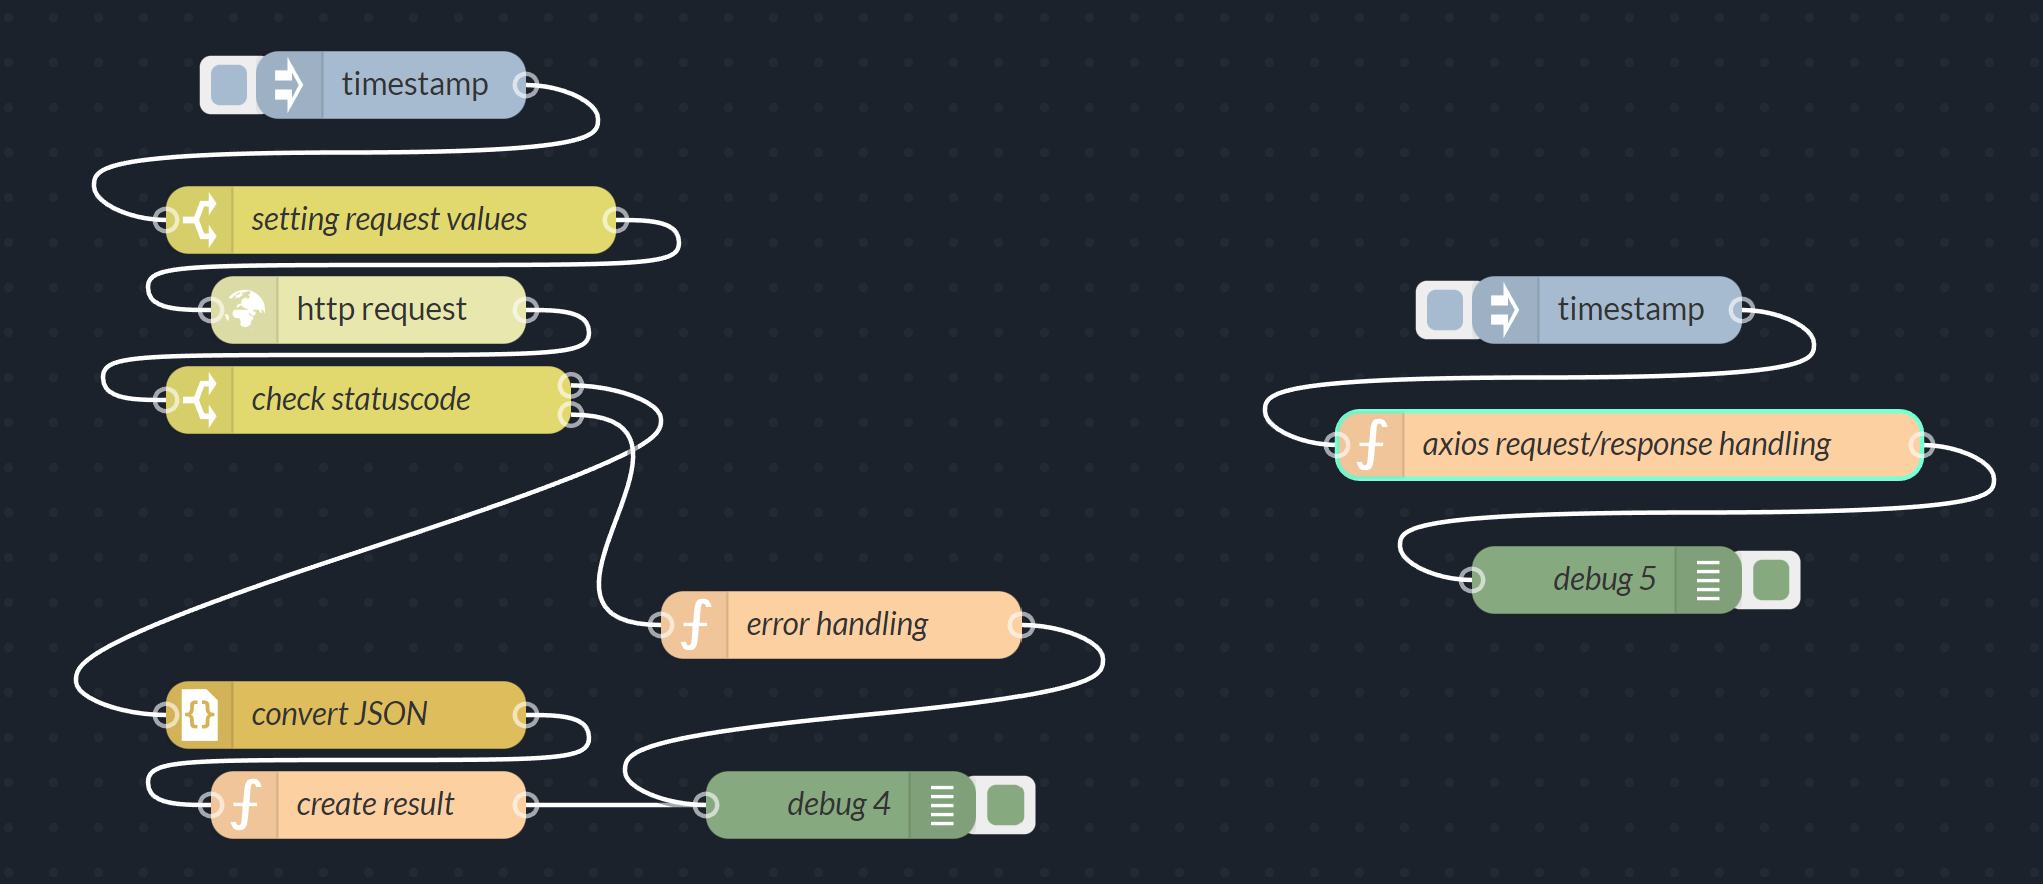
A good start to arranging nodes is to combine nodes that are part of a specific function of your project and place them close to each other. It helps to start creating similar constructs throughout your project. You can create different combinations of nodes. The figure below shows nodes structured in two lines.

Flow structure in strings
This structure is often seen in the Node-RED documentation. But it's only useful if you have short strings of nodes like in the example. More complex projects will become confusing and individual nodes are hard to find. Connecting these nodes to another string on the left of the workspace will leave a long connection line across the workspace which is either bad to see if nodes get stacked close, or it will occupy a lot of workspaces.
The next example should be considered, as it saves a lot of space in the workspace and helps create multiple blocks of nodes which are tied to a specific function, and uses branching paths and options in a flow. The following figure illustrates the possibility of this type of structure. It divides nodes into three different parts of the flow and stacks them on top of each other to save space in the workspace. The different parts can either be a continuous string of flows or multiple branches which can be executed at the same time.
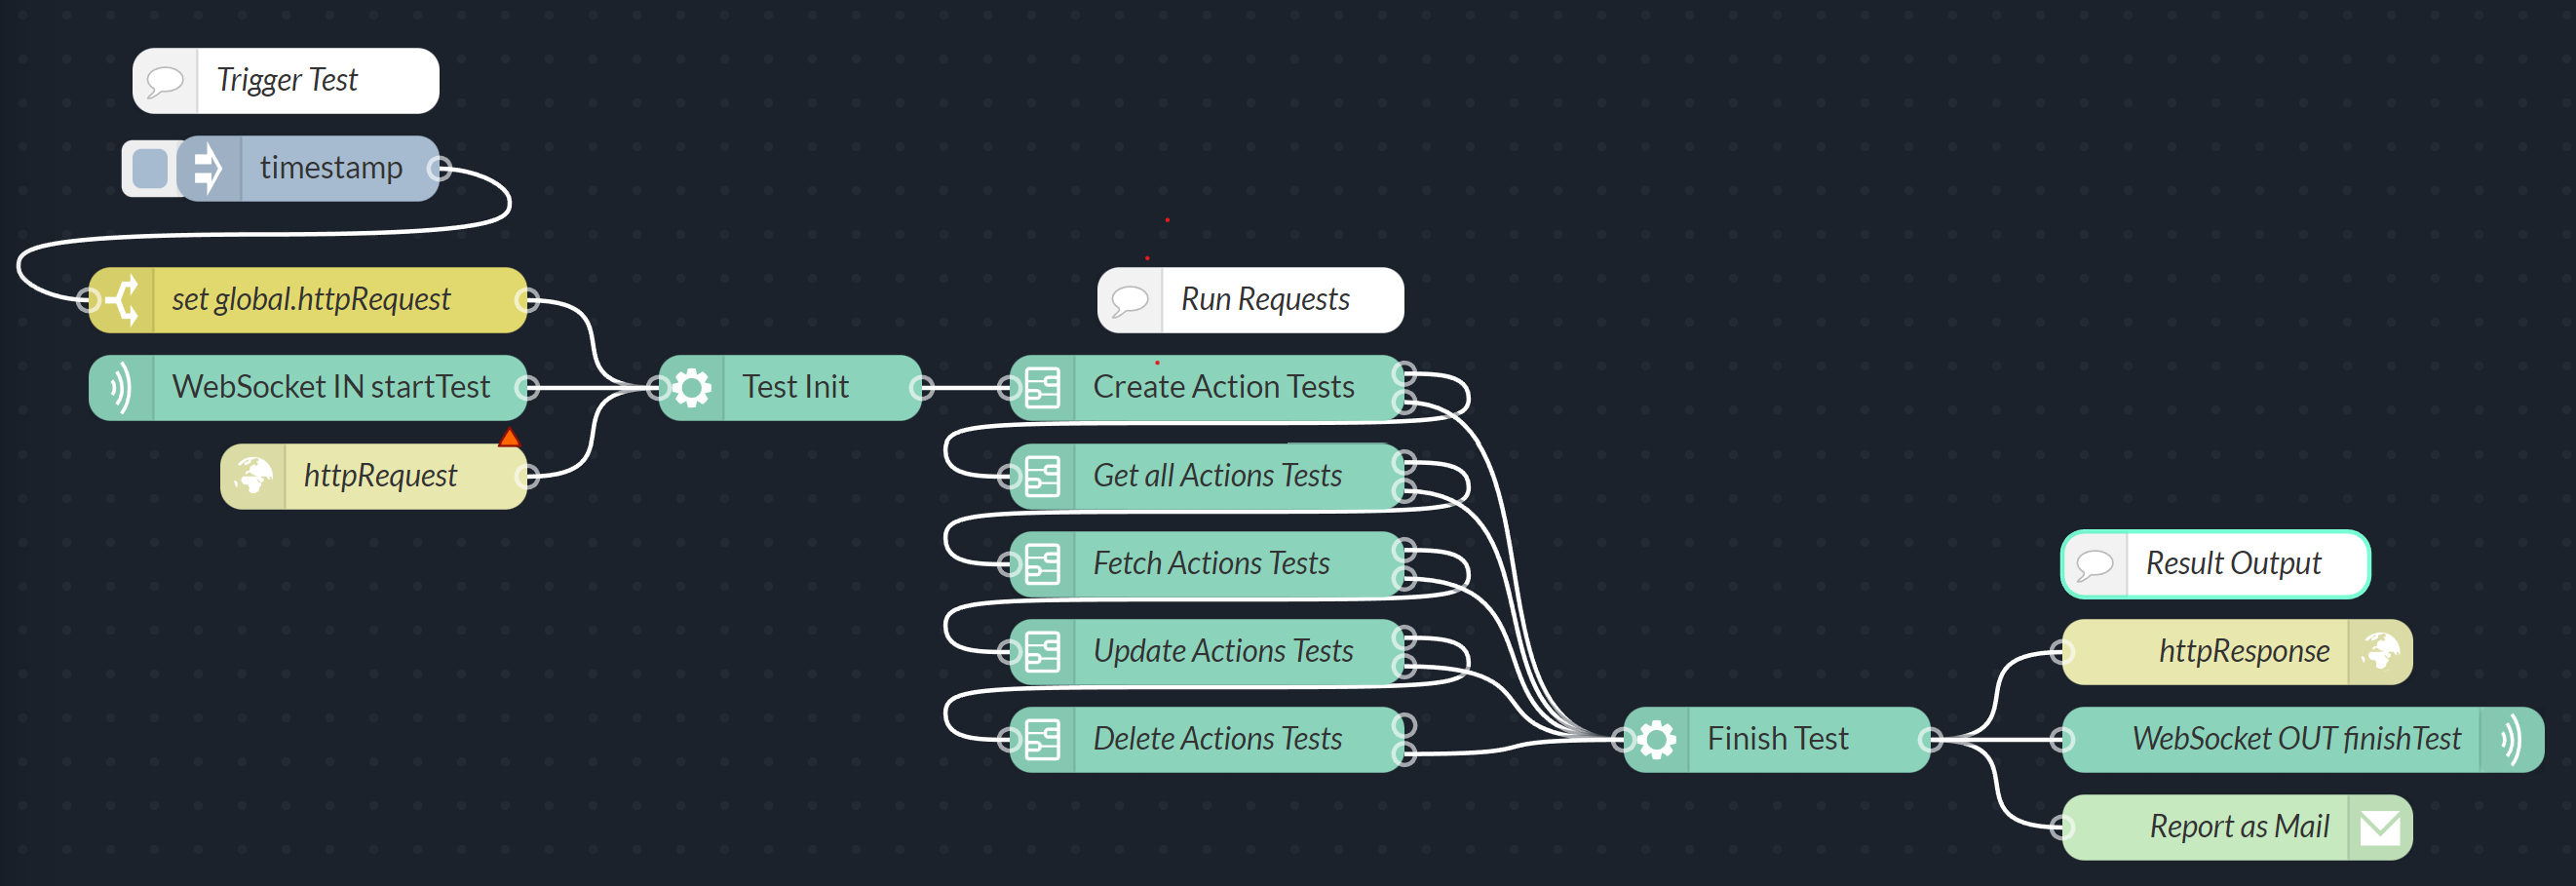
Flow structure in stack
The workspace has a lot of space to work with. You can navigate using the buttons described in the Workspace section. However, expanding your flows over the part you can see in the editor by default obstructs the whole scope of the project. Using only the top left corner, which is visible by default, will help others navigate through your project. When you run out of space, you can start moving separate nodes to their flow, or reduce the number of nodes by hiding some in subflows.
A no-code vs. low-code approach
There a several general approaches to set up your flows:
no-code
low-code
mix of no-/low-code
You can either avoid any kind of coding by using a combination of nodes to analyze values, convert data types and send the data somewhere else, or you realize those steps inside a function node.
You can use function nodes to extend the functionality of the available nodes. You can use require to integrate preinstalled packages as described in Working with the function node. Examples of replacing the functionality of a default node are checking values with simple if-else-functions replacing a switch node and setting Global and Flow variables replacing a change node. More complex tasks can also be achieved. An HTTP request and its response handling can be achieved by using the Axios module. A string of nodes setting up a request, making the request, and analyzing the response can thus be replaced by only one function node.
Reducing flow complexity with code in function nodes
Depending on the functionality, splitting up functions into multiple nodes might help with readability.
Making reusable flows
Find more tips and strategies about how to organize your flows and splitting them into smaller, reusable components on the official Node-Red documentation.
While building a flow, you may find some common parts that you want to reuse in multiple places. You should avoid having multiple copies of those common parts spread across your flows as they become harder to maintain, as you end up with multiple places to apply fixes and could easily overlook one. Node-RED provides two different ways of creating reusable flows - Links nodes and Subflows.
Subflow | Link nodes |
|---|---|
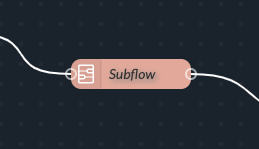 Subflows offer a simple but powerful way to wrap a flow as a node in the palette. You can then add new instances of the subflow wherever you would a normal node. | 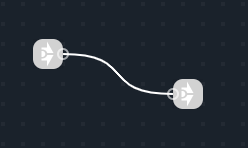 Link nodes can be used to create a flow that spreads between tabs in the editor as they add a virtual wire from the end of one flow to the start of another. |
Wrapping flows as subflows
Subflows appear as regular nodes so can be used at any point in a flow. However each instance of the subflow is independent of the others. Any flow context inside the subflow will be scoped to the individual instances. If the subflow creates a connection to a remote system, each instance will create its own connection.
For further information, see Working with subflows
Linking flows with link nodes
A long chain of nodes limits the options you have with structuring and organizing your flows. You can use the link node to separate a string of nodes. Both ends of the string can be added to a different flow. You can set up different parts of your project in separate flows, or create flows for different options to branch to from a link node.
Note that link nodes cannot be used in the middle of a flow, where messages are passed over the link and then return when the other flow completes. They can only be used to start or end a flow. They can also be connected to more than one other link node. This lets you pass messages out to multiple other flows, or have multiple flows pass messages into a single flow. They can be used within a single tab to help flows wrap across the workspace without having lots of wires crossing from right to left.